

You’ve seen our miscellaneous collection of emergency radios. We add to it from time to time, mostly when we see a new model that we just have to have! But easy as it is to get a new radio (and you can never have too many), it’s harder to schedule in time for an emergency radio clean-up!
That time came last month. I was busy dusting and straightening (Guests were expected.) and came to our “radio shelf.” As I picked up one of our older radios I let out a yell — “Oh, YUCK!”
The radio, one of my favorites, was all sticky!
I grabbed the next one. Same problem! Sticky, slimy, yukky!
So in true survivor fashion I went online for rescue. Here’s what I came up with – and what we did to solve the problem.
First question: Why the stickiness?
Apparently the vulcanized rubberized coating that is so popular on all kinds of gear – like radios, hand-held walkie-talkies, cameras, etc. – simply breaks down with age. That deterioration translates to a sticky, even slimy surface. (One comment I read suggested that manufacturers know this fact about deterioration. They just assume we will go through these devices so fast that we’ll never get to the slicky stage!)
The only solution to the problem? Clean the surface to remove the top sticky layer. Be aware that over time, as long as there is rubber left, the surface will get sticky again.
So then the second question: How do I get rid of that sticky layer?
Seems as though there are several ways to approach the problem. I tracked down stories about using common household cleaning products like Windex, Magic Eraser, Rubbing Alcohol, and Baking Soda.
We tried two of these methods as part of our emergency radio clean-up.
Test #1 – Clean radio using paste of baking soda and water
Below you can see the Voyager radio ready for its cleaning. Toothbrush, baking soda paste in brown dish.
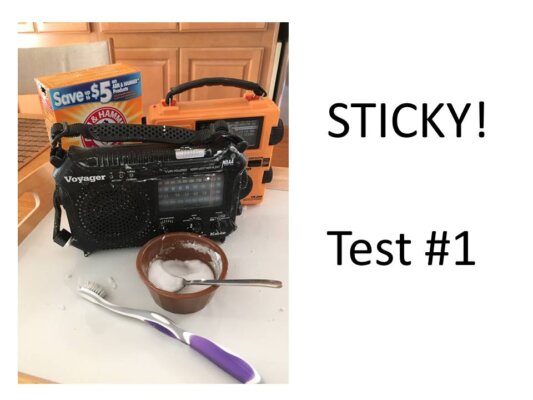
I used a tooth brush to slather on the paste and get it into all the cracks and crevices.
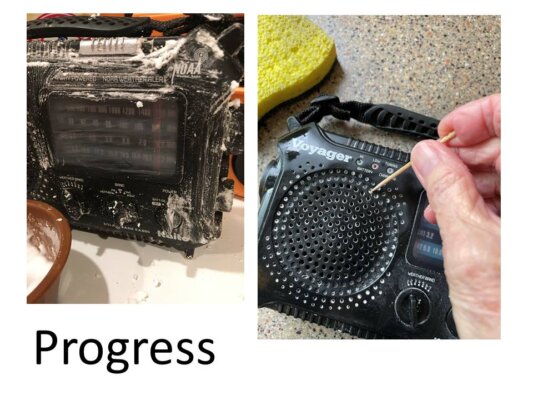
Actually, I was a bit too generous with the paste, shown in left photo below! It got into the speaker holes. You can see me prying out the residue with a toothpick.
Result of baking soda paste? Satisfactory. After dusting and wiping it off, the worst of the stickiness is gone. I am happy to pick up that radio again.
Test #2 – Clean radio using rubbing alcohol.
This was Joe’s test. He is much more precise than I am. He used a rag and a sponge with alcohol, rubbed and rubbed and rubbed. He even scraped some of the rubber off using one of his dental picks. (Why he has dental picks is another story, related not to dentistry but to his N-Scale railroad collection!)
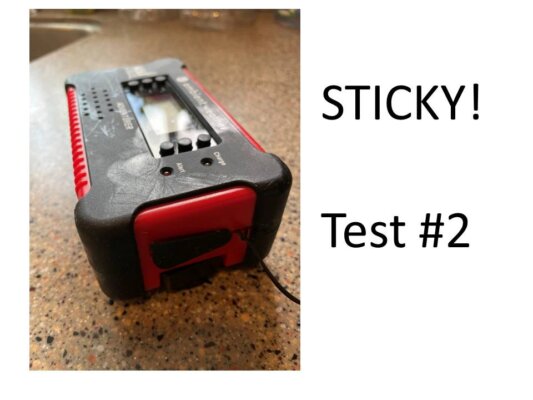
The photo above shows not just the stickiness but the slimyness. See my fingerprints there?!
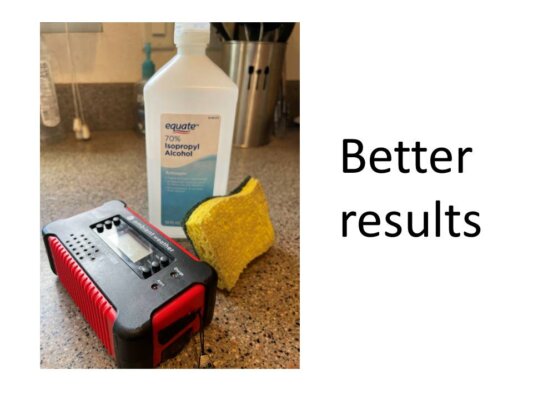
Result of rubbing alcohol for the emergency radio clean-up? Better than baking soda. But still, some residual stickiness. (We could work on it more, I guess.)
Test #3 – Avoid the problem altogether.
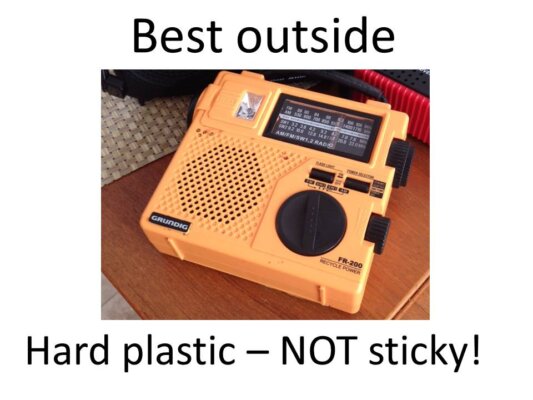
The best solution seems to be to find devices that have no rubber on them at all! Among our own radios, the surface of our Grundig (gold radio shown below) remains in perfect condition. (This radio is at least 12 years old, and has actually been discontinued by the manufacturer.) A couple of our other radios are fine, too, including our Bell & Howell Shortwave radio and our Kaito 5-way powered radio. (Not shown here. Click on the link to see current colors, prices, etc.)
But wait, there’s more to this emergency radio clean-up story.
Naturally, when you pick up a radio you may notice the slimyness but you still have to check to see if the radio actually works.
Well, the champion Grundig non-sticky radio looked and felt great, but when we opened it up . . .
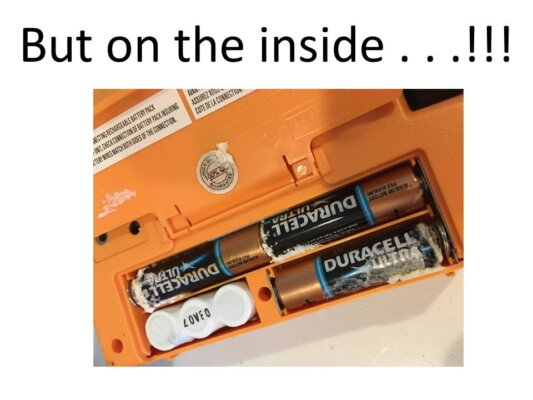
Look closely, please. You may recognize a little bit of chemical leaking out of those batteries. Shameful for us professionals!
So, it was back to the baking soda for a thorough inside cleaning. (Joe has that down to a science.)
Moral of this story – schedule a radio clean-up.
Maybe you can add it to the twice a year time change, right along with checking your smoke alarms. Since November 7 is “Fall Back” day for 2021, that would be perfect as your first scheduled clean-up!
So let us know how it goes. If you have found better ways to clean up the stickiness from the rubber, let us know about that, too.
In any case, do check your radios and make sure they are in working order. You may need them at any moment!
Virginia
Your Emergency Plan Guide team
P.S. We have updated our list of recommended radios to include some of the smaller ones. If you haven’t checked it lately, take another look at Best Emergency Radios.
Don't miss a single Advisory.
Thank you for subscribing.
Something went wrong.
Hi Virginia,
I discovered the same problem a few months ago on an old walkie talkie and a travel hair dryer. I used Goo Gone and a microfiber cloth to clean the handles. Carefully. Worked fine and the rubberized handles haven’t gotten sticky again yet.
I keep Goo Gone in my kitchen to remove sticky stuff such as labels and price tag residue.
Cheers,
-mj lee
I’ll try that next time, mj. I’m sure there will be one!