Maybe you missed this? Tsunami warnings.

Yes, where you’re located makes a difference when it comes to emergency planning. I’m writing from sunny Southern California, just about 12 miles from the Pacific and its beaches. We plan a lot for earthquakes, but seldom if ever for tsunamis. But we need to keep remembering that everything is changing these days! On January 15, just 3 weeks ago, we were alerted by a series of unexpected but real tsunami warnings!
A volcanic eruption near the Tonga Islands in the South Pacific was the cause . . . and I’m sure you have seen images of what happened there. (Actually, not many images have surfaced since the eruption and waves destroyed all internet connections in the area.)
While effects were minor on the West Coast, some marinas and harbors were hit, some streets and parking areas were flooded, and a few boats were damaged or even sunk.
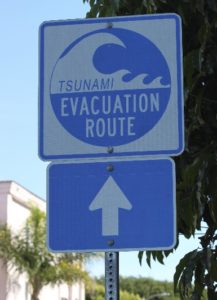
Could you find yourself in a Tsunami Danger Zone?
Maybe a LOT more easily than you think!
In the U.S. residents of coastal cities are at risk for tsunamis: in Hawaii, Alaska, Washington, Oregon, and California. We need to add to the list US business travelers and tourists heading to Japan, Thailand, Singapore and anywhere in the Pacific Ocean’s “Ring of Fire” countries. That’s a lot of people and a lot of places!
My son was caught in the tsunami that hit the Pacific in 2004. He was vacationing in Thailand. As he reported it live on Larry King (!), he saw a “strange long unbroken wave” forming way out in the bay. He even paused to take a photo without realizing that the wave was bearing down on the beach much faster than he could run.
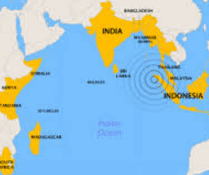
Yes, he was caught, washed off his feet and pushed into a building, where he was able to clamber up above the water and wait until it went down. He was young and very strong and lucky. He lost only a shoe and a camera. Over 227,000 people around the Indian Ocean weren’t so lucky. They lost their lives. This little map shows just how far that tsunami reached!
That was in 2004, and many Americans really didn’t know how to recognize a tsunami. My son didn’t. He would now, though, and you should be able to, too.
Be prepared before you ever hear tsunami warnings.
I’ve written before on how to know you’re in a tsunami zone, and what do to to be ready in case one hits. I just recently came across and excellent video on LinkedIn and I decided it was a lot better than my earlier written description!! Even if you think you’ll “never be in a tsunami zone” someone you love may be headed on vacation next summer. Be sure they see this video, too!
Some compelling highlights from the video
- Are you in a tsunami zone right now? If you’re in the US, you can check at http://www.tsunamizone.org/knowyourzone/. Or if you’re on the road, check the World Map at http://www.mapsofworld.com/world-maps/tsunami-zones.html
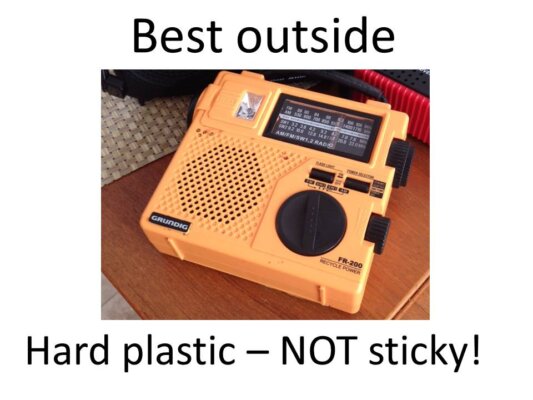
- How will you know a tsunami is on its way? NOAA emergency radios and various alert apps broadcast this information. You may hear local sirens if the tsunami is threatening.
- If you are in a zone — particularly if you are traveling and in an unfamiliar place — you MUST know the evacuation routes! (Steve’s video makes this very clear!) Family members need to know them too, because you may not be together when you hear the tsunami warnings. Nor will it necessarily be in the daytime, during moderate weather, etc.
- If you feel an earthquake and are on the coast, and if you hear tsunami warnings, how long do you have to get to safety? It may be as little as TEN MINUTES! That means you won’t have time to run back home or to a hotel to get personal things or your emergency kit. So — be sure every family member has at all times a day-pack that holds some essentials, including emergency contact information. A jacket, snack, etc. would be good, too. You may not be able to get back, or get back together, for hours or even days.
Pass along this information to friends and family – and stay safe! Don’t wait until World Tsunami Awareness Day comes around on November 5 to be better prepared for this hazard.
Virginia
Your Emergency Plan Guide Team
P.S. While we’re talking about tsunamis and earthquakes, did you know that April 26 is National Richter Scale Day?